Equipment & assembly
Manual Perfume Bottle Crimping and Collar Pressing in Practice
Selecting perfume assembly equipment starts with the pump, bottle neck and collar. OULU’s three demonstrations show how these components are fitted using a bench crimping machine, a collar press and a compact hand-operated tool.
Watch the three assembly methods
Crimping & collar fitting
Collar pressing
Hand-operated fitting
A pump can sit on a perfume bottle without being securely attached. The closing operation depends on its construction: a metal ferrule is formed around a compatible neck by crimping, while a matching snap-on assembly or decorative collar is seated by pressing.
The distinction matters when ordering equipment. A press head and a crimping head contact the assembly differently, even when both are fitted to a lever-operated stand. The videos below follow each operation from component preparation to the assembled bottle.
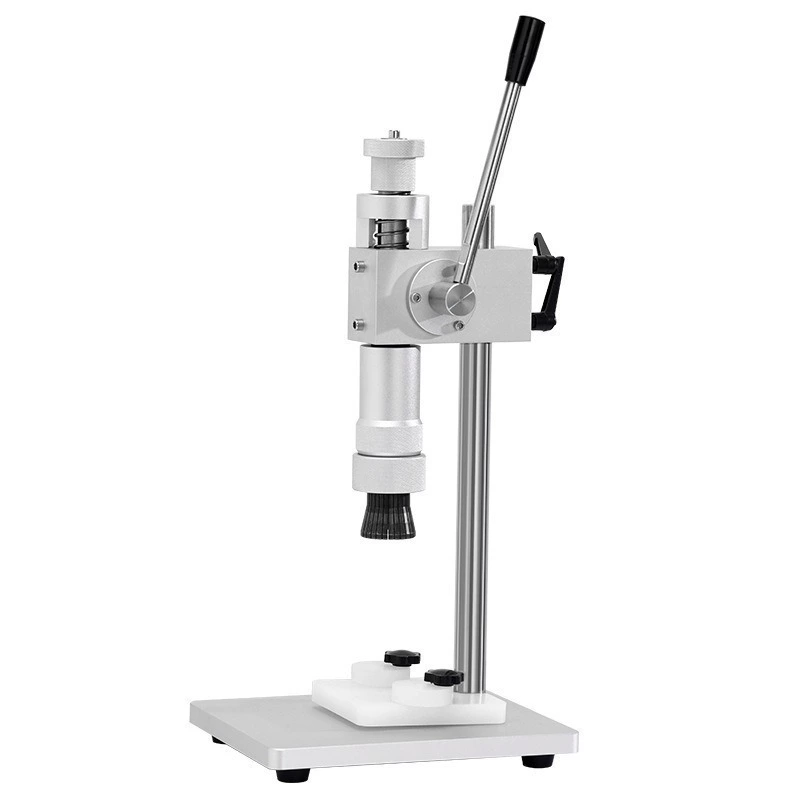
Crimping the pump, then fitting the collar
The silver bench machine first uses a segmented crimping head to close the pump’s metal ferrule. In the demonstration, the operator installs the adjusted head, prepares the pump and places the bottle beneath it. The working height is set so that the head meets the ferrule squarely, with the bottle supported on the base.
Lowering the lever brings the head into contact with the closure. After the stroke, the lever is raised and the bottle is removed for inspection. The head configuration and adjustment must be matched to the selected pump and bottle neck; nominal bottle capacity does not determine this setup.
The second part of the film shows another operation on the same stand. The crimping head is removed and a white pressing pad is installed. A decorative collar is placed over the sprayer, the bottle is realigned on the base and the lever is lowered again to seat the collar. The operator then checks the spray.
This sequence separates the two jobs clearly: the metal ferrule is crimped first, and the decorative collar is pressed afterwards using a different contact head.
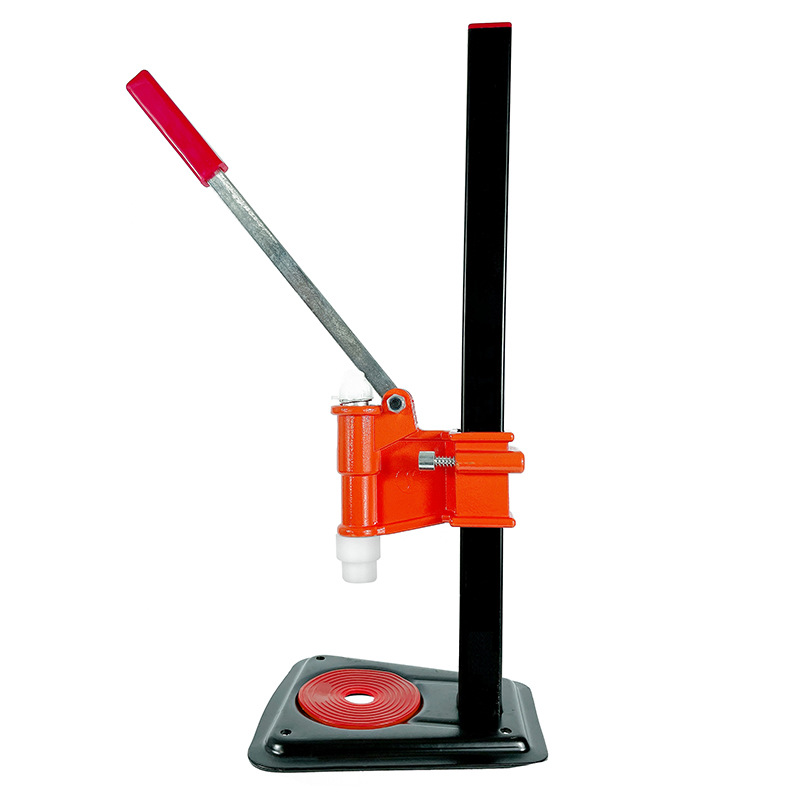
Pressing an easy-fit collar assembly
The red machine demonstrates a collar-pressing setup for the easy-fit plastic snap-on assembly shown in the film. The operator prepares the dip tube, positions the pump on the bottle and removes the spray button before fitting the collar.
With the bottle upright beneath the pressing head, the working height is adjusted and the lever is lowered to seat the component. The bottle is then removed and the spray button refitted. Removing and refitting the button is part of this demonstrated assembly sequence; the correct procedure should be confirmed for the pump being purchased.
For a collar pressing machine, the contact head needs to reach the intended pressing surface while clearing the surrounding pump parts. Bottle support and alignment also need to suit the actual pack. Applying more pressure is not a remedy for an incorrectly matched head or collar.
Using a hand-operated fitting sleeve
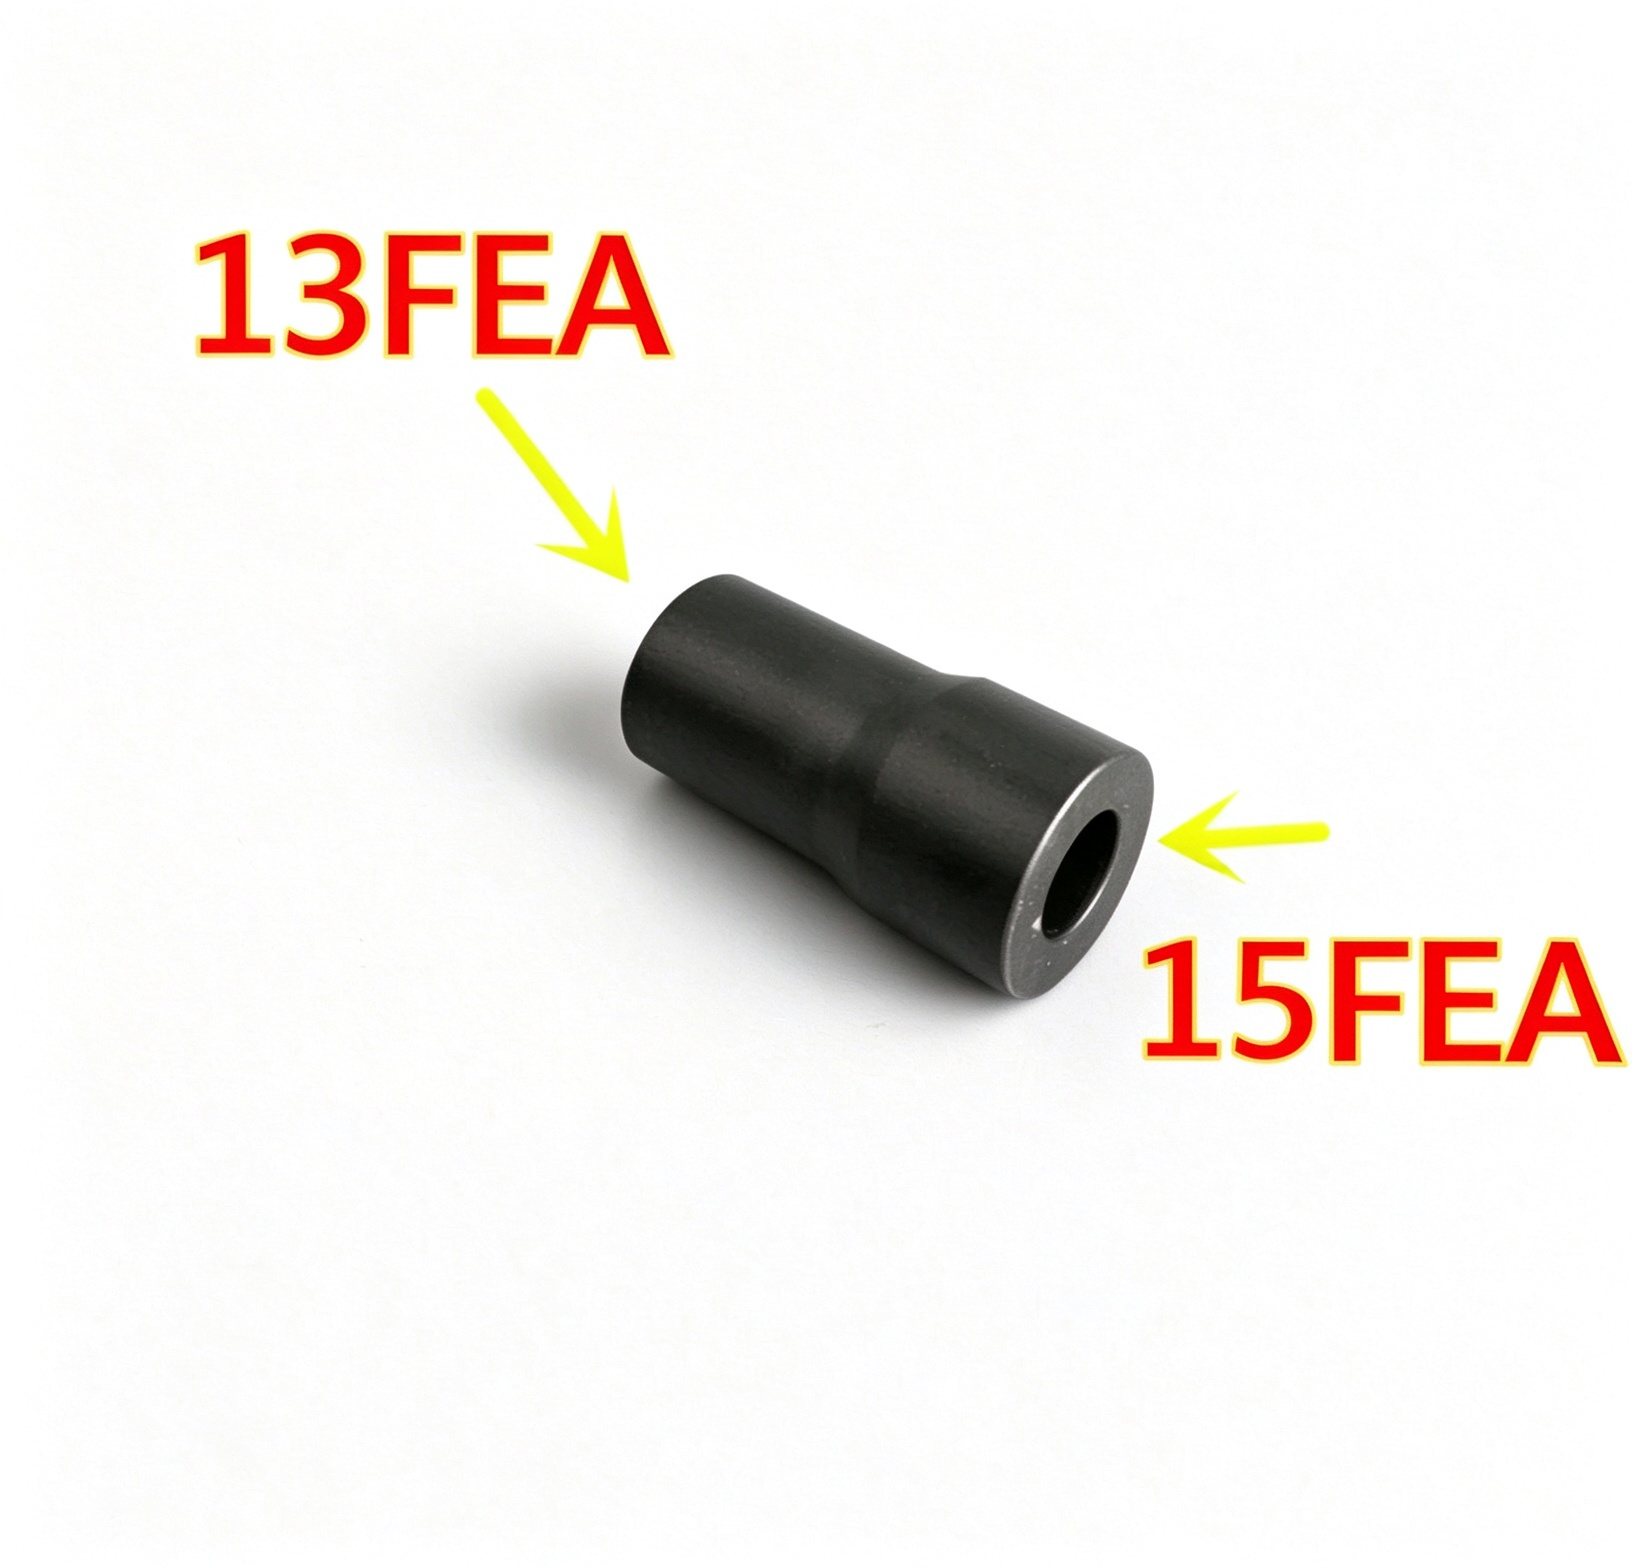
The third video shows a compact sleeve used to press a compatible assembly by hand. The pump is positioned on the bottle, the decorative collar is added and the tool is aligned over the components. The bottle is supported while pressure is applied straight through the sleeve.
The product photograph labels the two ends 13FEA and 15FEA. Those markings are useful when discussing the reference, but the selected end still needs to be checked against the actual pump and collar. Clearance around the actuator and the surface carrying the pressing load are part of that review.
The demonstrated sleeve should be treated as a fitting tool. The footage does not show the segmented jaws used by the bench machine to form a metal ferrule, so it would be misleading to present the sleeve as an equivalent metal-crimping device.
Confirm the complete assembly before selecting the tool
A useful equipment enquiry includes the bottle-neck specification or drawing, pump and collar references, bottle height and samples of the intended components. For the bench machine, specify whether the work requires crimping, collar pressing or both, so the proposed heads can be reviewed together.
A trial assembly should be inspected for consistent seating, alignment, component damage and spray operation. Agree separately on the retention and leakage checks required for the project. Keep fingers clear of the moving head, support the glass on a stable base and stop if the assembly does not enter the head correctly.
OULU can use the bottle, pump and collar references to discuss the required tool configuration. Head sizes, adjustment range, order terms and delivery timing should be confirmed against that defined assembly.