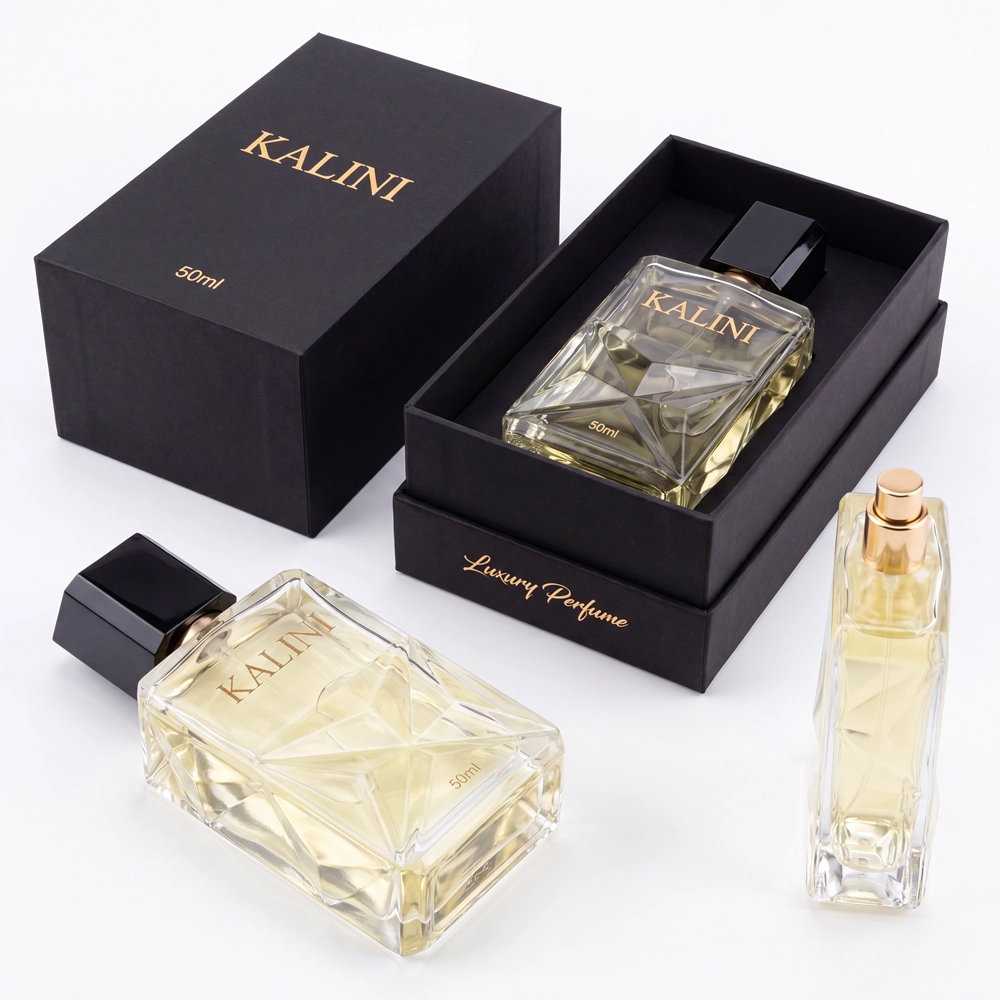
Start with the assembled bottle, not the nominal capacity
A 50ml or 100ml label describes fill volume, not one universal packaging footprint. Bottle width, depth and body height establish only the first dimensional reference. The pump, collar and cap determine the final assembled height and can also change the clearance needed around the shoulder or closure.
Carry the exact bottle SKU into the packaging discussion, then confirm the intended sprayer and collar and cap direction. A fitted insert or box should be finalized only after the assembly is sufficiently defined. The photographed examples on this page are structure references rather than universal size templates.
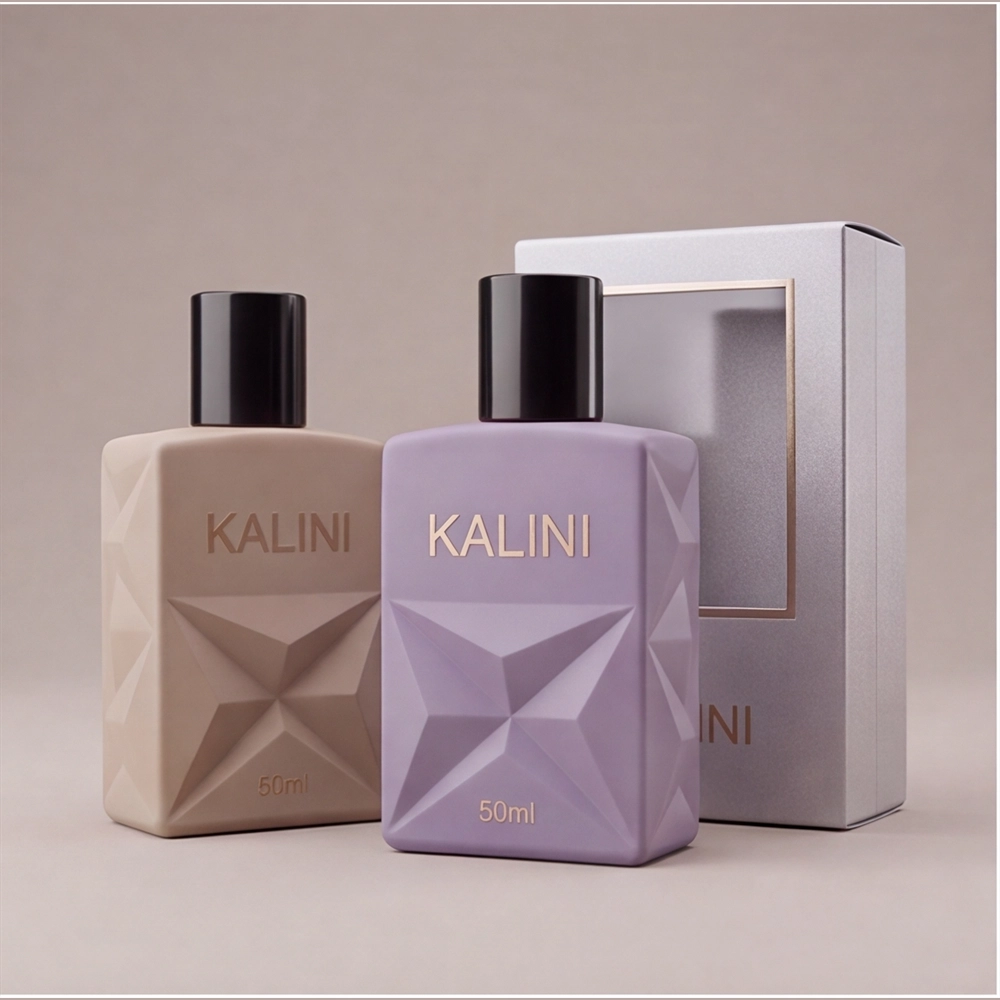
Use a folding carton when the project needs a compact retail outer pack
A folding carton can provide a printable retail surface around a single perfume bottle while keeping the structure comparatively compact. The photographed window-carton direction also shows how a visible product area changes the artwork layout, opening position and protection discussion.
Specify whether a window is required, which bottle faces should remain visible and whether an internal support is needed. Confirm board, surface finish, printing, metallic detail and closure style against the approved artwork and project scope. Do not assume that the photographed carton dimensions or materials apply to another bottle.
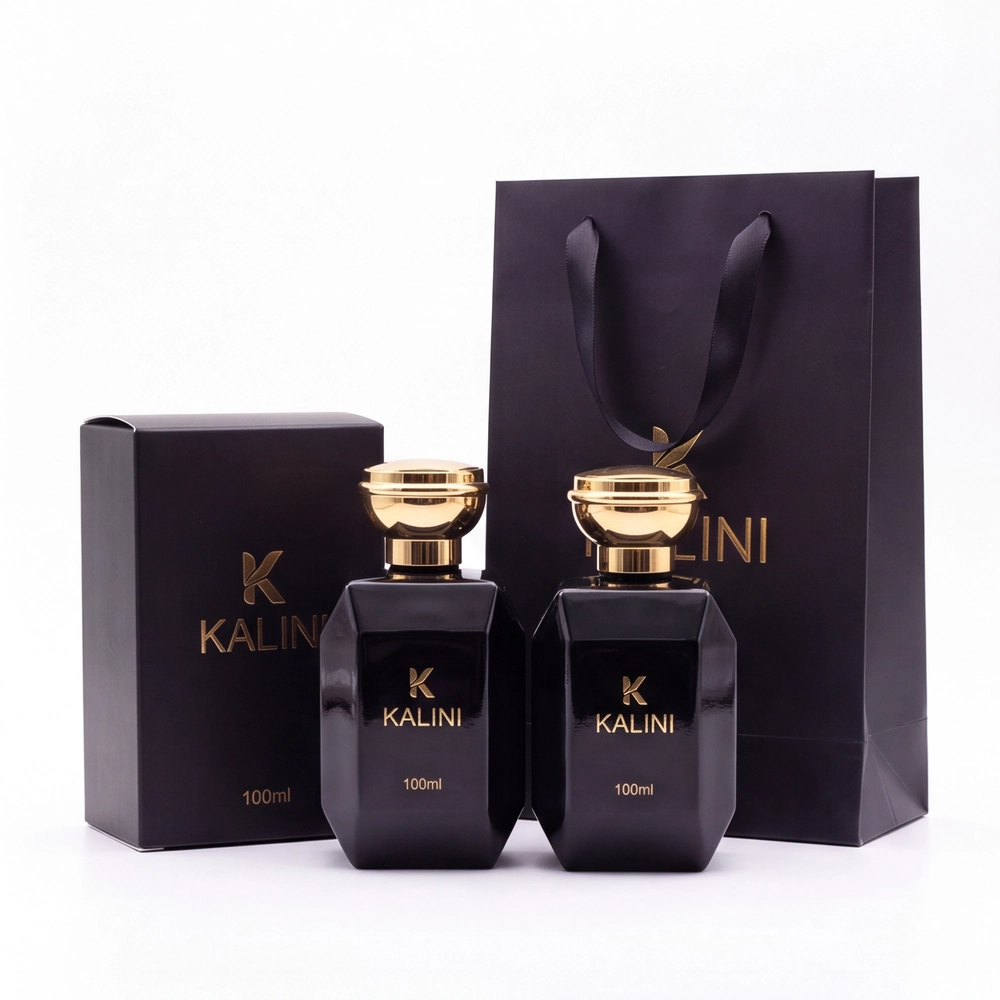
Coordinate the carton and carry bag as one presentation system
A retail carton and paper carry bag create two related artwork surfaces and two dimensional decisions. The bag must accommodate the finished carton rather than only the bottle, while handles, opening clearance and packing orientation affect the final presentation.
Provide the selected bottle SKU, completed carton direction, quantity and destination before treating a bag size or material as confirmed. The photographed 100ml set demonstrates a coordinated direction, not a promise that the same carton-and-bag combination fits every 100ml perfume bottle.
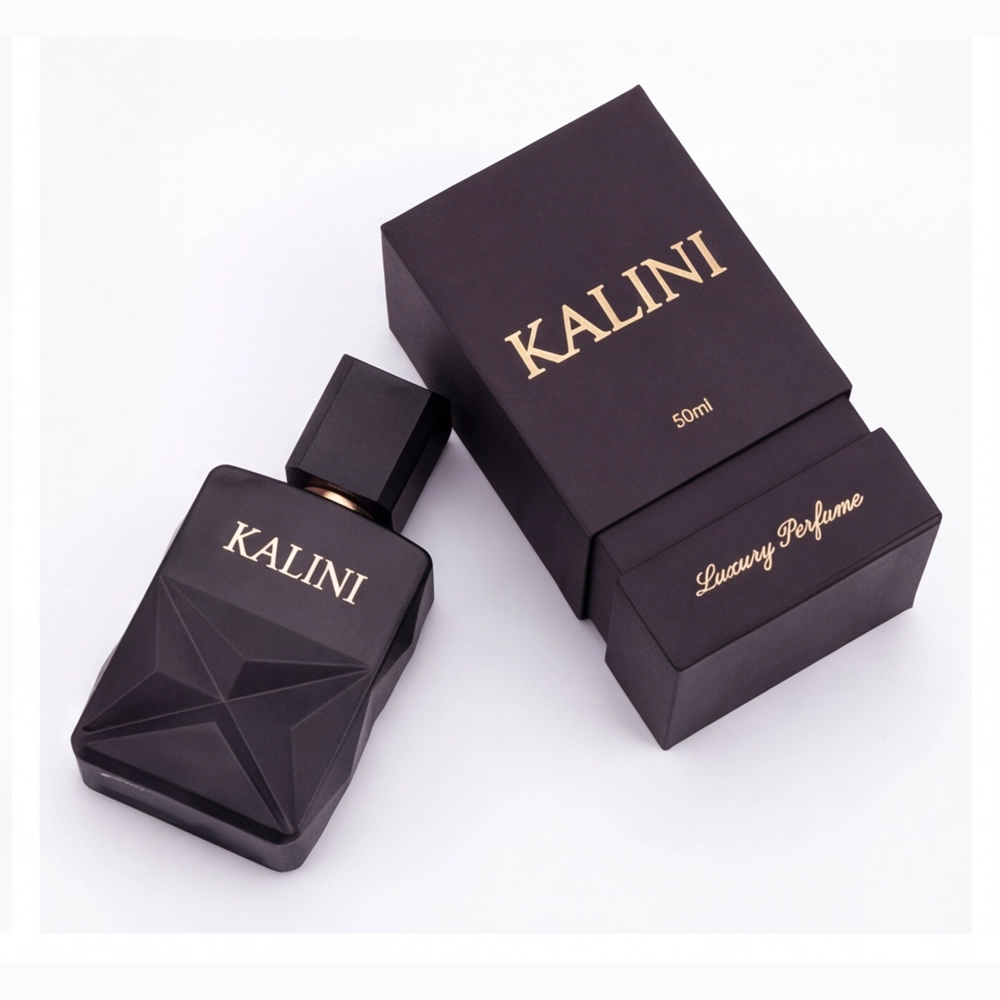
Choose a two-piece rigid box for a defined lid-and-base presentation
A two-piece rigid box separates the lid from the base and creates a substantial closed presentation surface. The buyer still needs to define what happens inside: the bottle may require a cavity, platform, wrapped insert or another support route depending on its shape and handling needs.
Use the closed-box view to discuss outer proportions and artwork, then request an internal-fit review around the exact assembled bottle. Confirm board construction, covering material, logo process, insert direction and final appearance through the applicable sample or approval route.
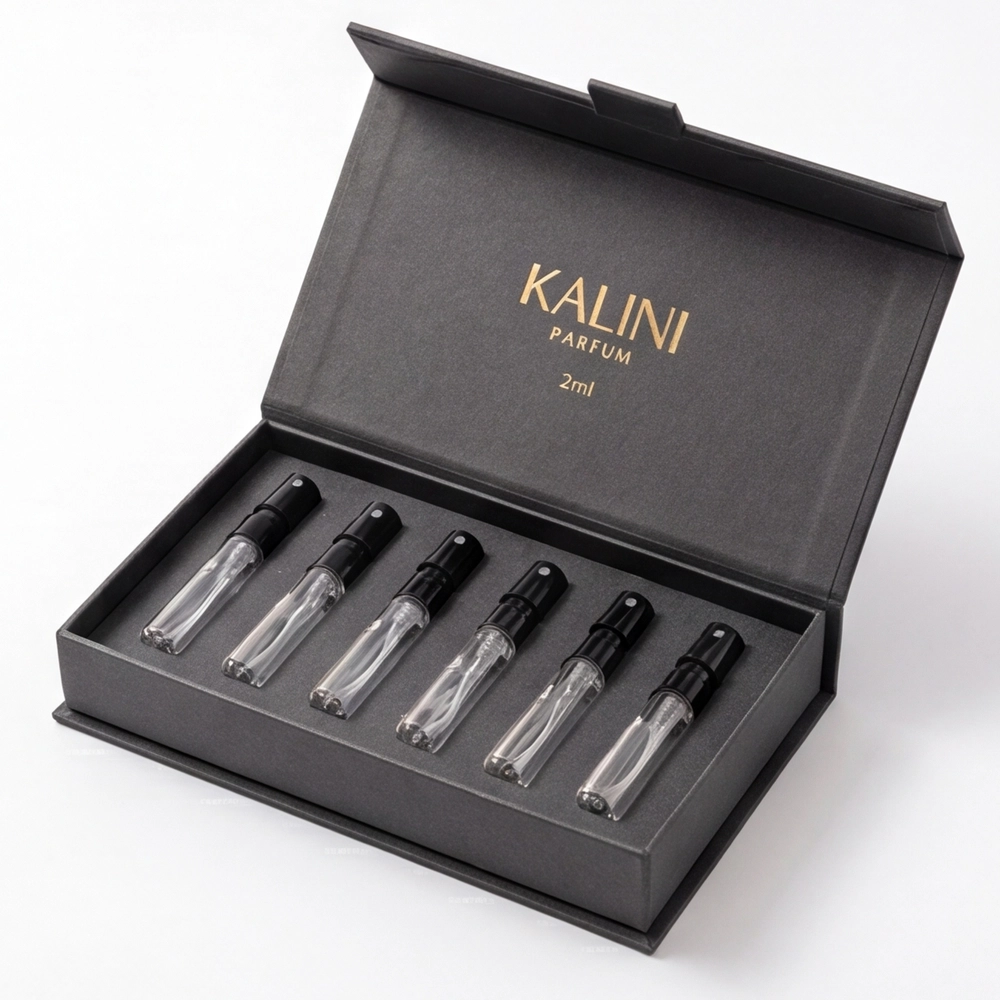
Use hinged boxes when the opening experience is part of the set
A hinged presentation box keeps the lid attached and reveals the complete arrangement in one opening movement. For a discovery set, that experience depends on vial spacing, retention, finger access and the amount of visible branding inside the lid.
State the number of vials, each vial's sufficiently confirmed dimensions and the required orientation. The six-vial photograph is one layout reference only. Final hinge construction, insert material, cavity size, printing and commercial terms remain subject to the approved project specification.
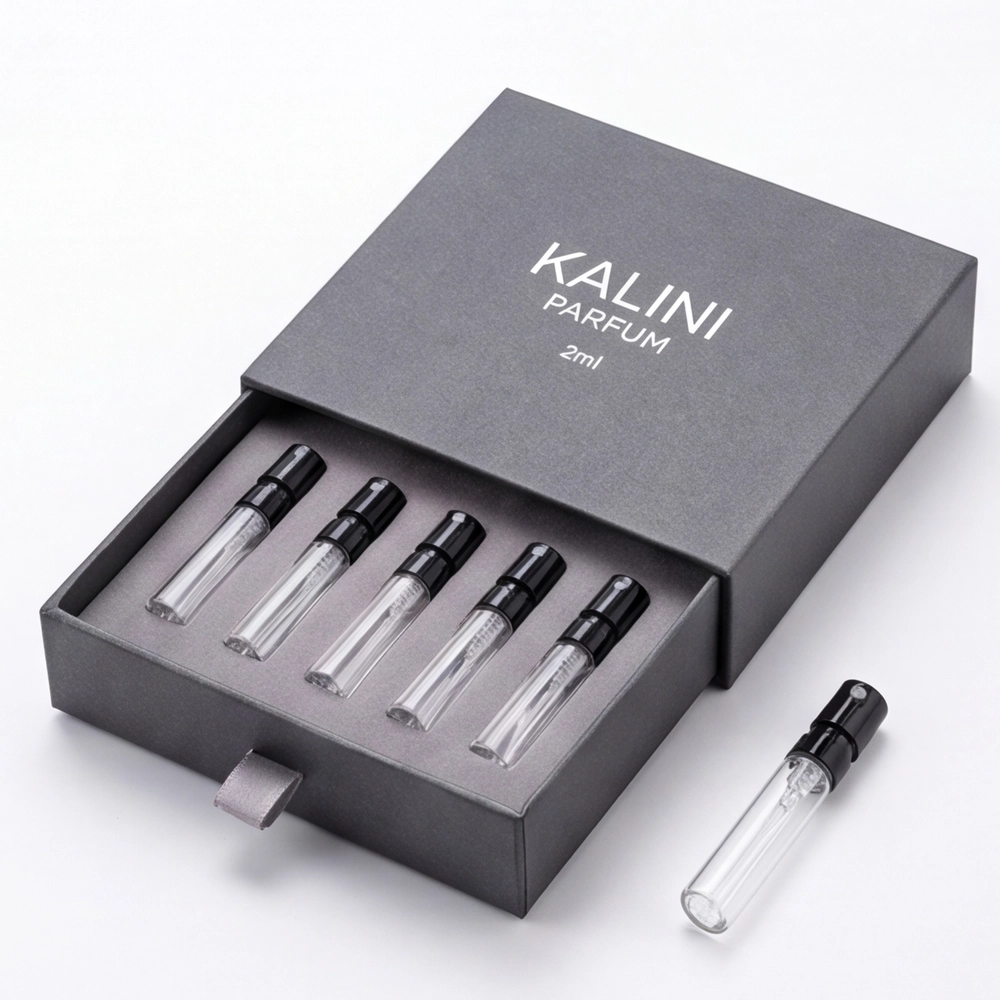
Compare drawer boxes by access, pull direction and insert retention
A drawer box separates the outer sleeve from the sliding tray. The pull tab, opening direction and amount of exposed product should be chosen deliberately, especially when the set contains several small vials that must remain aligned during handling.
The photographed five-vial drawer demonstrates one access pattern with an additional vial displayed outside the box. Use it to discuss tray depth, finger clearance and insert spacing, while confirming the exact number of products, dimensions, protection requirement and final board structure for the intended set.
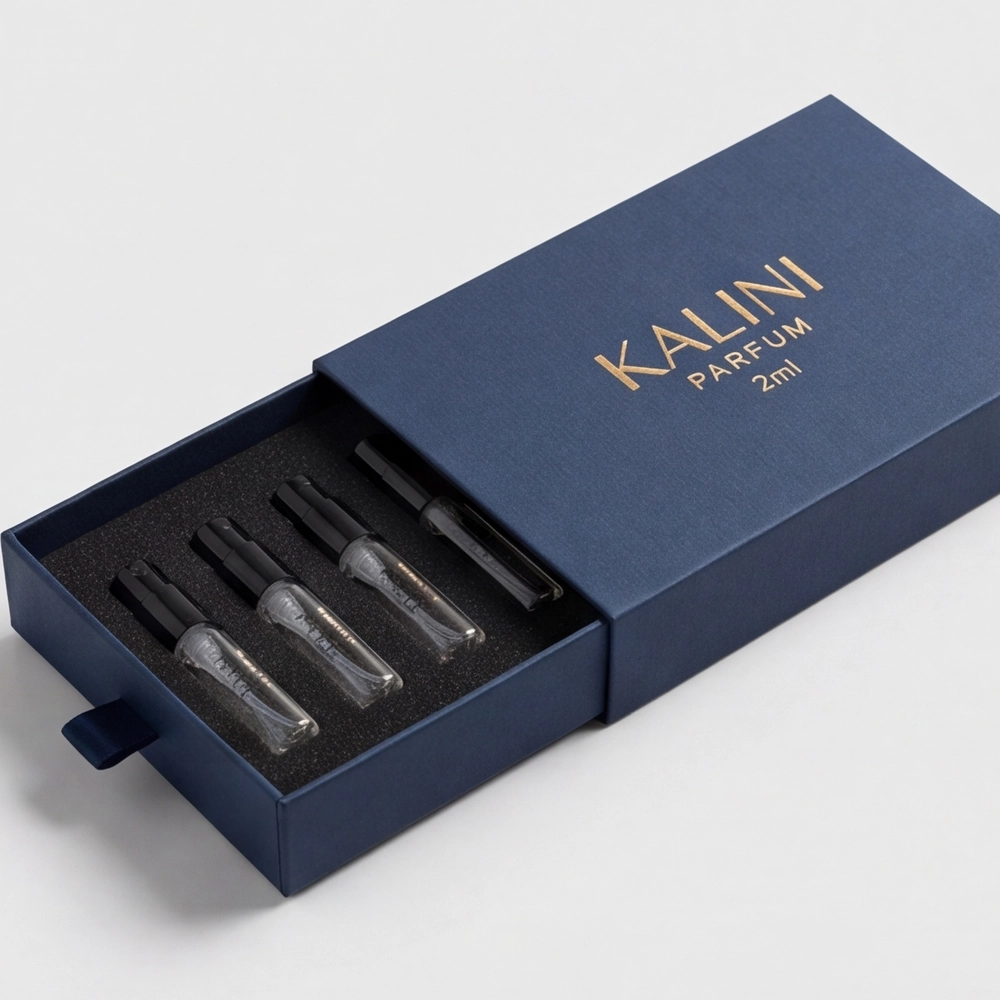
Treat color, surface paper and logo finish as separate approvals
A colored rigid box combines structural and visual decisions. The blue drawer-box photograph communicates a color and metallic-logo direction, but screen appearance is not a production color standard. Supply a clear color reference and artwork file, then define the intended surface texture and logo process.
Approve the box color, print or foil appearance and construction against the agreed project basis. A change in paper, coating or metallic process can alter the result even when the artwork remains the same, so the visual route belongs in the written RFQ rather than only in a reference image.
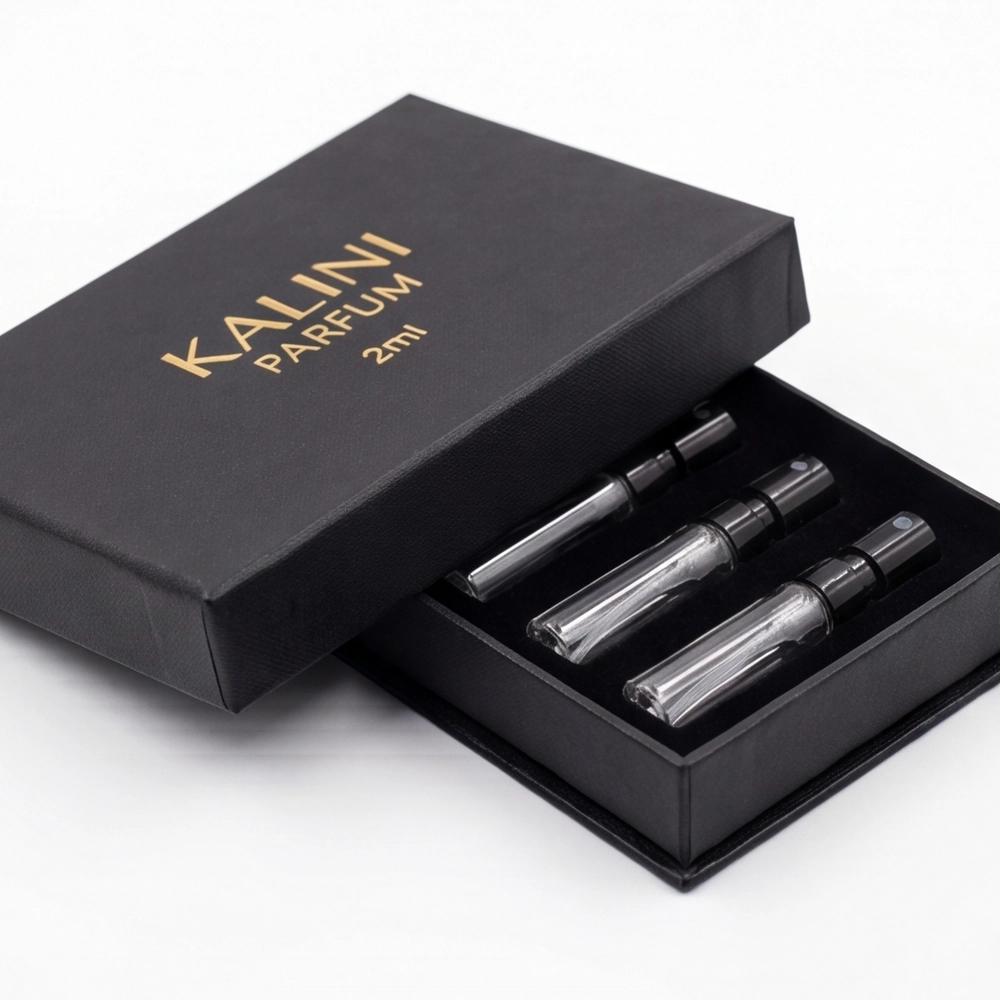
Scale a discovery-set box around the exact vial count
A smaller discovery set is not simply a larger layout with fewer cavities. The vial count changes balance, box proportions, opening behavior and the amount of usable artwork space. A compact three-vial rigid box may need a different insert and retention approach from a four-, five- or six-vial presentation.
Send the intended vial count, fill format, dimensions, pump or sprayer direction and preferred arrangement. The photographed three-vial box provides a visual starting point; final cavity dimensions, insert material and set configuration must follow the selected products and protection criteria.
Prepare one quote-ready box and insert brief
Send the exact bottle or vial SKU, assembled dimensions, quantity, destination, box structure, opening direction, insert and protection needs, artwork status, color or finish references and target timing. Separate fixed requirements from preferences so the supplier can identify unresolved decisions before quotation.
Use the photographed perfume packaging box collection to choose a visual direction, follow the bottle measurement handoff before finalizing the box or insert, and use the packaging RFQ checklist to complete the commercial brief. Live availability, MOQ, sampling, price and schedule are confirmed for the approved scope rather than inferred from these photographs.