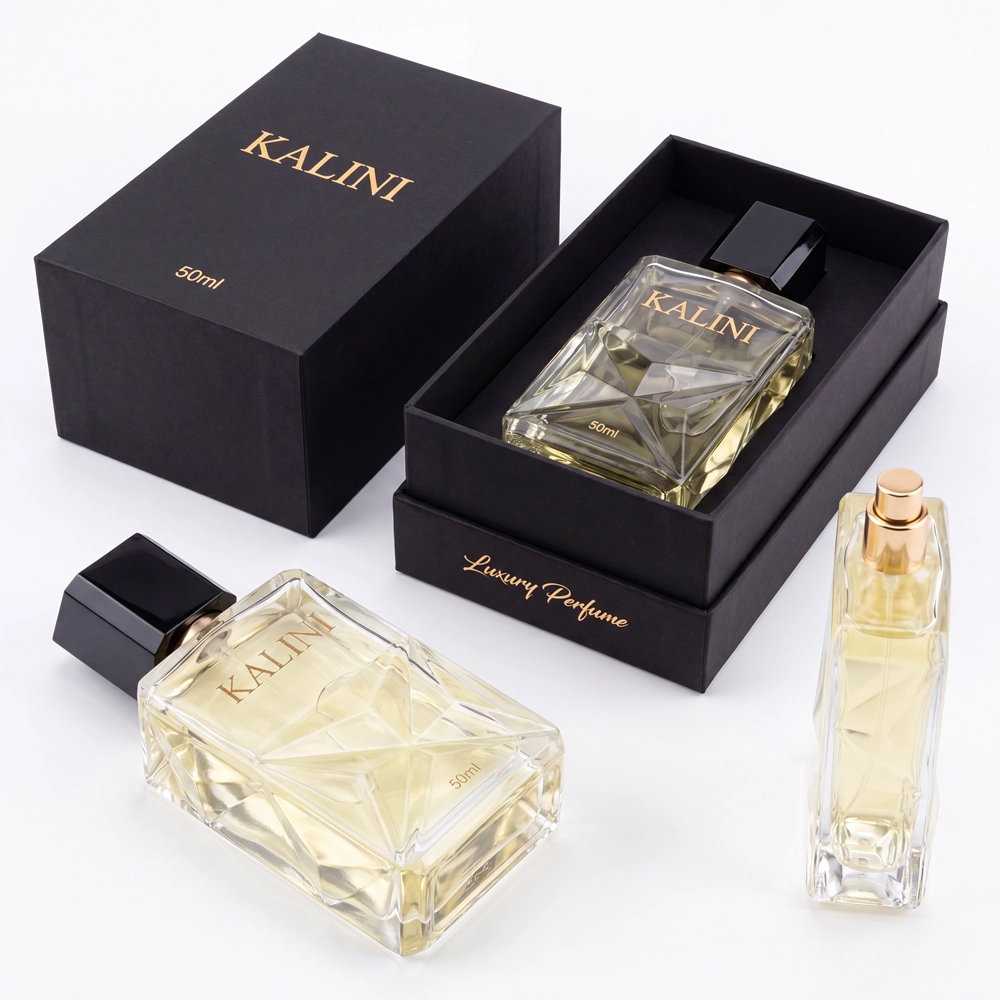
Measure the complete assembled bottle, not the glass alone
Start with the exact bottle SKU or approved bottle reference, then identify the intended pump, collar and cap. Nominal capacity describes fill volume, not the exterior footprint that the box and insert must accommodate. A closure change can alter overall height, shoulder clearance and the area that needs support or protection.
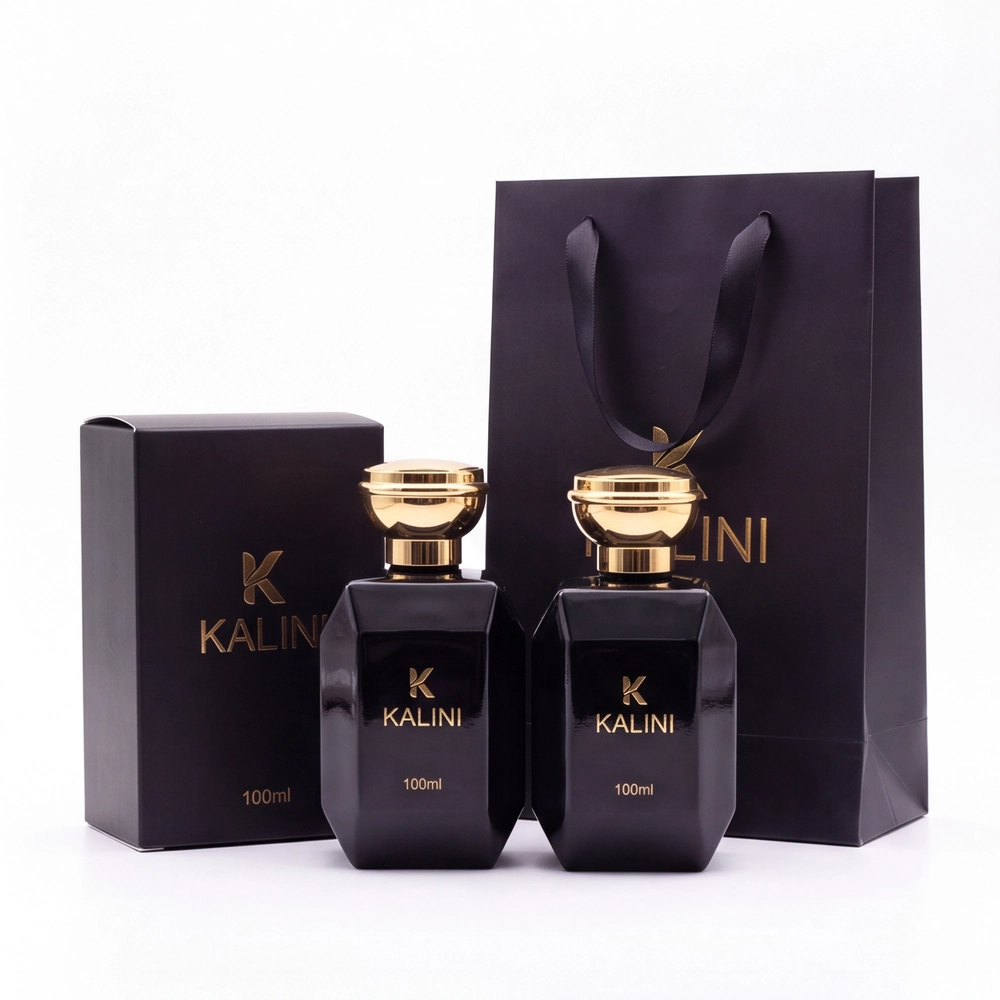
Use the complete assembly that is intended for the project. If the component set is still open, mark it as unresolved rather than treating the photographed closure as final. The packaging photographs on this page are private-label project references used to explain the handoff; they do not establish standard box dimensions for another bottle.
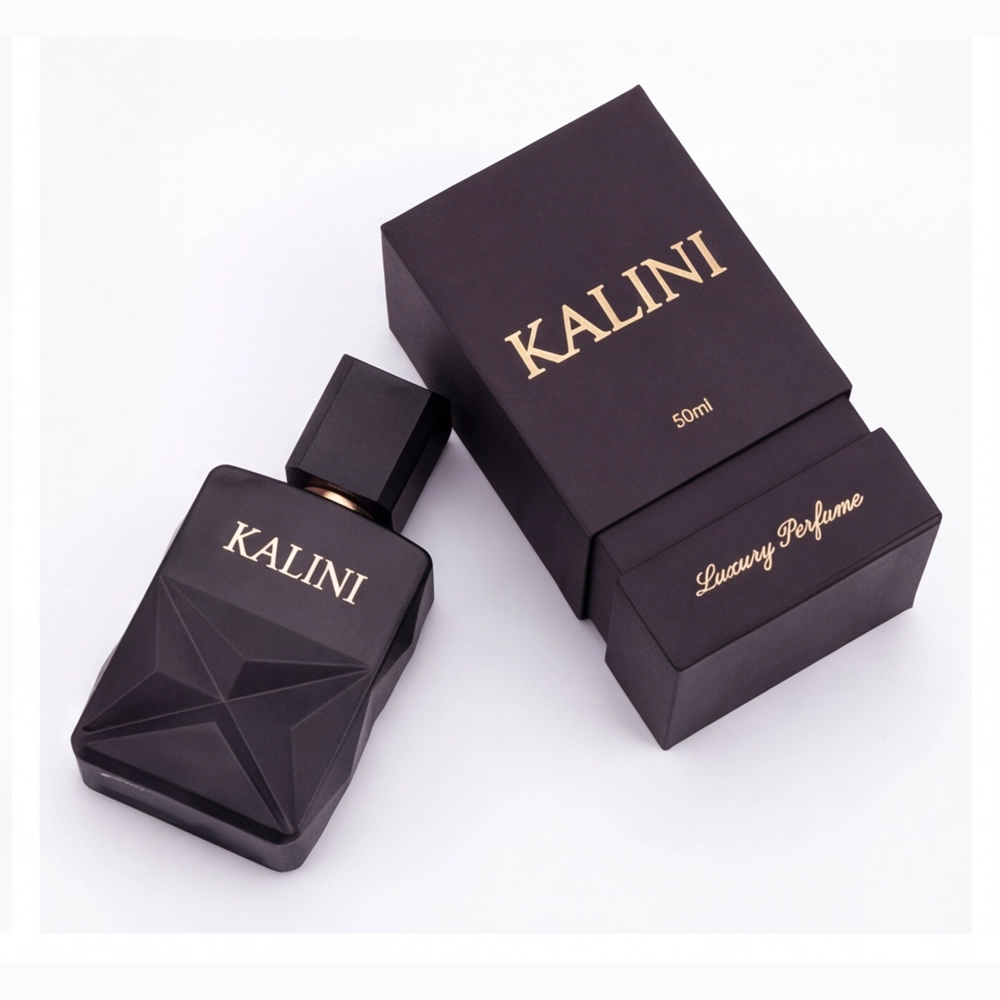
Record maximum width, maximum depth and overall height
Measure the widest exterior point, the deepest exterior point and the tallest point of the sufficiently defined assembly. Keep the exact SKU, drawing or approved sample beside the measurement record so a number is not separated from the product it describes. Record the unit for every value and identify which face is treated as the front.
Do not use nominal capacity as a size, substitute width for missing depth or infer a square footprint from one photograph. If a verified source does not show a value, write "Not shown" and request the missing measurement before the box or insert is finalized.
| Record | Why it matters | Fact boundary |
|---|---|---|
| Exact SKU or reference | Prevents models from being mixed | Use the approved URL, drawing, photo or sample |
| Maximum width | Defines the widest exterior point | Do not substitute nominal capacity |
| Maximum depth | Defines the deepest exterior point | Write Not shown when unavailable |
| Bottle-body height | Supports glass-body comparison | It is not the final box height alone |
| Overall height | Includes the confirmed photographed assembly | Recheck when a component changes |
| Orientation | Defines front, top and opening direction | State which face the measurement uses |
Keep bottle-body height and assembled height separate
Bottle-body height describes the glass body shown in a verified product image or drawing. Overall height includes the pictured closure configuration. The assembled height is the stronger starting point for vertical box clearance, but it remains valid only for that sufficiently defined pump, collar and cap set.
The 15ml dimensions guide, 60ml dimensions guide and 100ml dimensions guide show why body and overall height are recorded separately. Do not add a generic component allowance to a glass-body height; confirm the intended assembly and measure it.
Mark orientation, visible face and closure clearance
Identify the intended front, back and top of the bottle, then state how it should face when the box opens. A window carton also needs the visible area, artwork face and opening direction defined. These choices affect the insert orientation and the relationship between the bottle, window and printed panels.
Describe where protection or visual clearance is required around the cap, actuator, collar, shoulder and decorated faces. Do not publish or reuse one universal clearance value. The applicable space belongs to the exact assembly, box structure, insert route and agreed protection requirement.
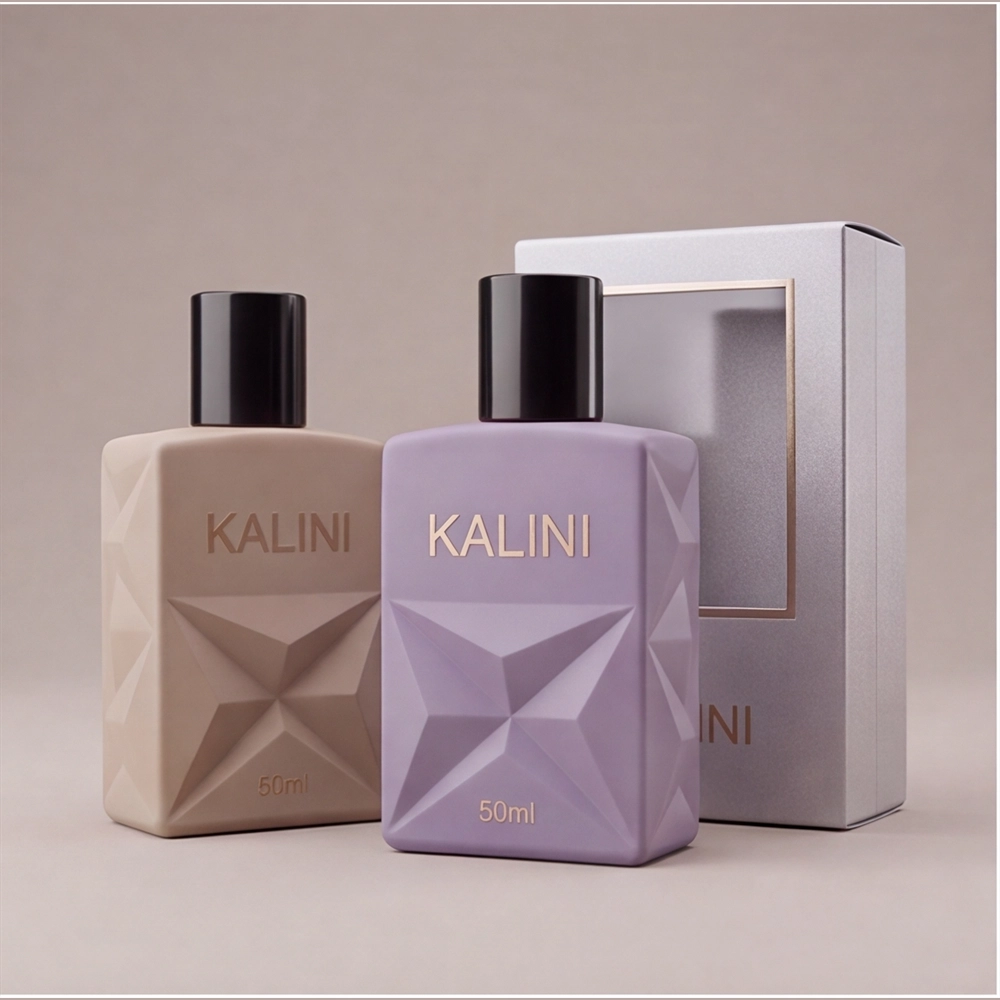
Define insert retention, finger access and protection needs
Describe what the insert must do: retain the bottle in the intended orientation, allow practical removal and protect the agreed surfaces or components. State how much of the bottle should remain visible, where finger access is expected and whether the cap or decorated face needs additional separation from the surrounding structure.
A photograph can communicate presentation direction, but it cannot confirm cavity size, insert material, board thickness or performance for another product. Final construction and dimensions follow the selected bottle, component assembly, box structure and applicable approval route.
Repeat the measurement sheet for perfume Discovery Sets
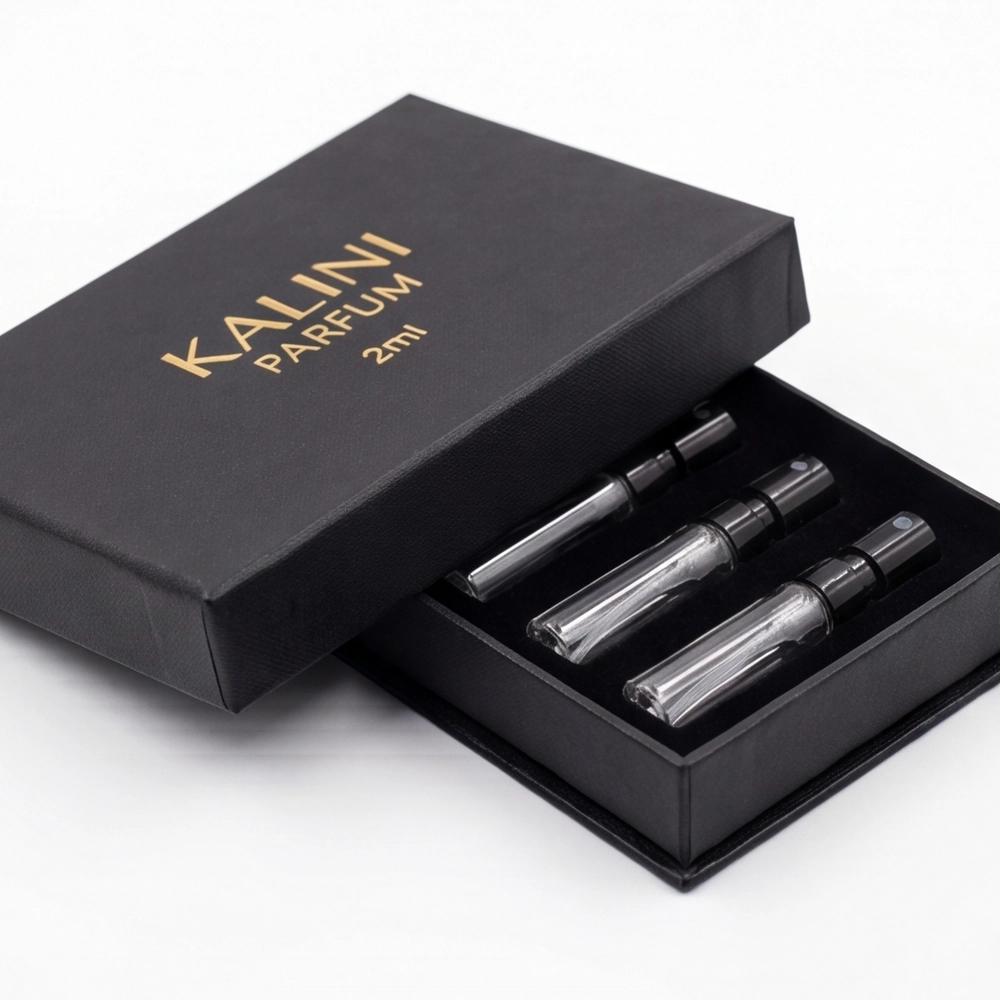
For a multi-vial set, record the exact vial reference and complete assembly for every position. State the capacity, dimensions, sprayer direction, number of positions and whether all positions use the same vial. Mixed capacities or different vial formats should be listed separately rather than treated as one repeated cavity.
Use the sample-vial and discovery-set collection and the 1.5ml–10ml discovery-set guide to define the vial route before the insert. The photographed layout below is a private-label project reference, not a universal three-vial insert specification.
Choose the box structure after the measurements are sufficiently confirmed
Compare a folding carton, two-piece rigid box, hinged box or drawer box only after the product reference and component assembly are sufficiently defined. The box structure influences opening, presentation and artwork surfaces, while the finished product dimensions determine the internal-fit basis.
Review the photographed perfume packaging box collection and the box types and inserts guide. Use each photograph as a structural direction, not as proof of the dimensions, material, MOQ, price or schedule for another project.
Send one box-ready measurement handoff with the RFQ
Send the exact SKU or approved bottle reference, maximum width, maximum depth, bottle-body height, overall assembled height, component configuration, orientation, quantity, destination, box structure, insert function, artwork status and target timing. Flag every missing or provisional point so it can be resolved before final dimensions are approved.
Use the perfume bottle packaging RFQ checklist to separate confirmed requirements from preferences. Live availability, component fit, insert construction, MOQ, sampling, price and schedule are confirmed for the selected product and approved project scope rather than inferred from this guide.